Effective Wall Leakage Repair During Rainy and Monsoon Seasons
When rain drums on the roof and a damp patch spreads across the wall, leakage stops feeling like a minor defect and starts acting like an urgent household problem. Monsoon moisture can stain paint, weaken plaster, trigger mold, and slowly damage interiors that took years to finish. This guide explains how to identify the source, choose practical repair methods, and prevent repeat seepage without relying on guesswork. Read on if you want repairs that hold up when the weather is at its worst.
1. Article Outline and Why Monsoon Leakage Demands Fast, Informed Action
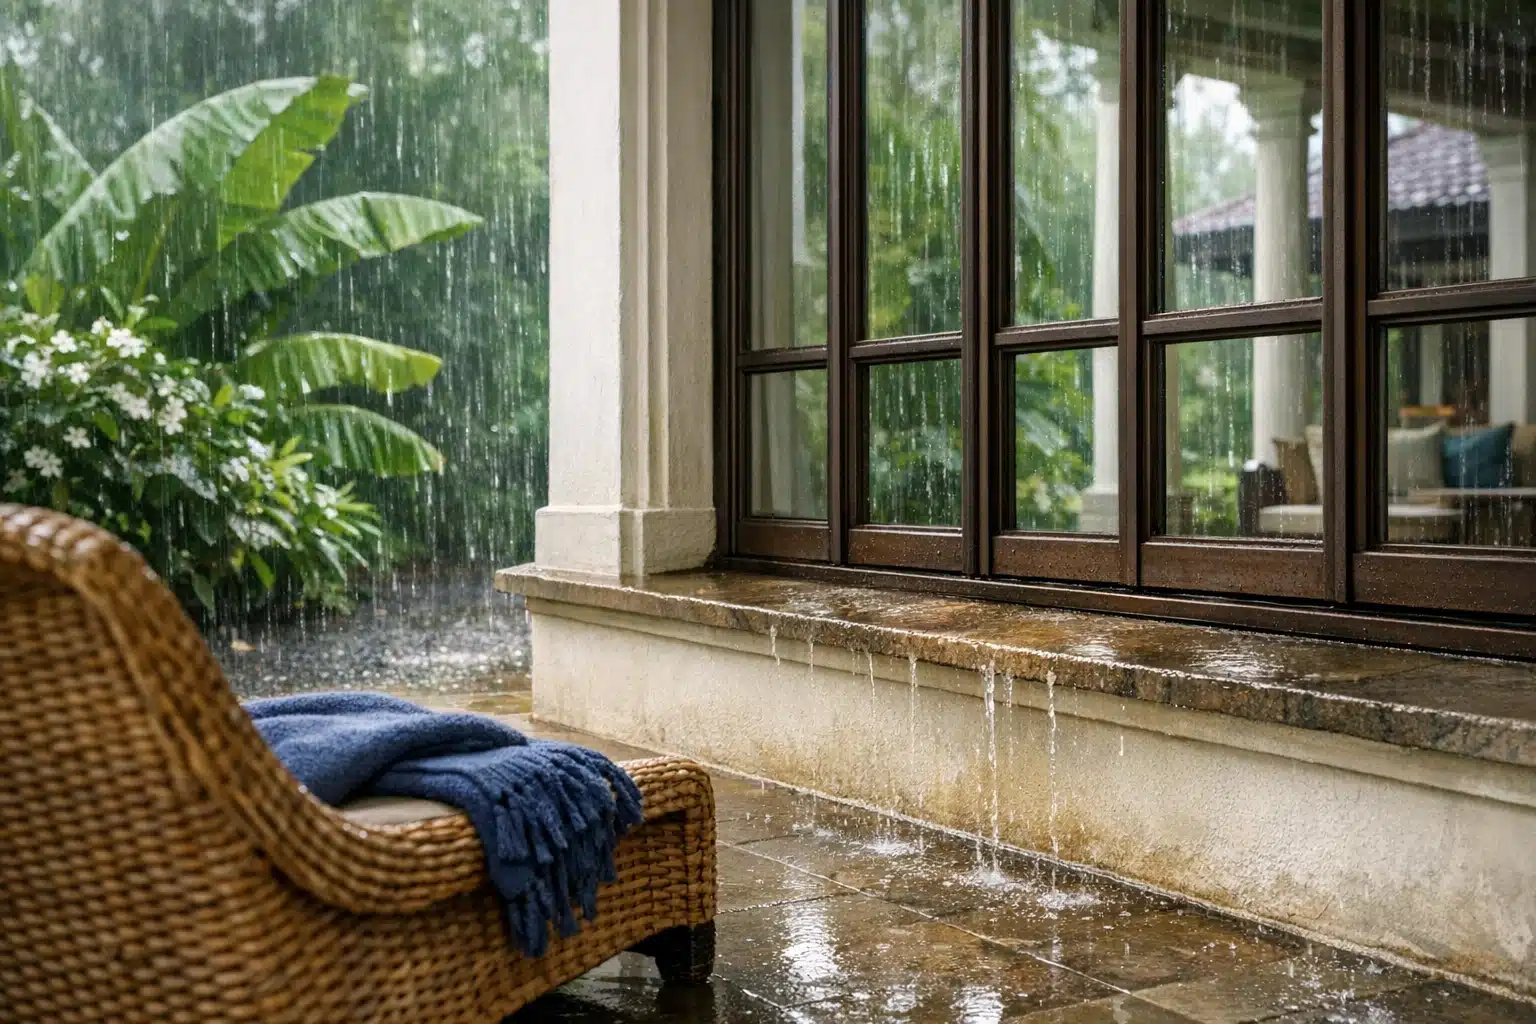
Wall leakage repair becomes especially important during rainy and monsoon seasons because water does not need a dramatic opening to enter a building. It can travel through hairline cracks, failed sealant, porous plaster, roof-to-wall joints, and even through small construction gaps around pipes or windows. Once inside, water rarely stays where it first appears. A wet patch on an interior bedroom wall may actually begin at the terrace edge, parapet, exterior facade joint, or an upper-floor window sill. That is why rushed cosmetic fixes often fail. Paint can hide the evidence for a few weeks, but it cannot stop ongoing water ingress.
This article is structured to help homeowners, tenants, building managers, and maintenance teams approach the problem logically instead of emotionally. Monsoon leakage feels chaotic because the symptoms appear during bad weather, when surfaces are wet, access is difficult, and everyone wants an immediate answer. A structured repair plan reduces waste, prevents repeat work, and improves the odds of a durable result.
Here is the roadmap covered in the next sections:
• understanding the most common paths through which rainwater enters walls
• learning how to distinguish rain penetration from plumbing leaks, condensation, or rising damp
• comparing short-term emergency containment with proper long-term repairs
• selecting waterproofing materials suited to cracks, plaster, masonry, joints, and exposed facades
• planning preventive maintenance so the same wall does not fail again next season
The importance of getting this right goes beyond appearance. Persistent dampness can reduce the life of plaster and paint systems, loosen tiles, corrode embedded metal, and encourage mold growth on consistently wet surfaces. Restoration professionals often note that mold can begin to develop within 24 to 48 hours on materials that remain damp under favorable conditions. In other words, water damage is not only a finishing problem; it can become an indoor comfort and maintenance problem very quickly. Think of leakage as a message from the building envelope. The wall is not merely “wet”; it is telling you that somewhere, a protective layer has stopped doing its job.
2. Understanding Where Wall Leakage Comes From in Rainy and Monsoon Conditions
To repair leakage well, you first need to understand how rainwater behaves around a building. Water follows gravity, but it also moves sideways through capillary action, wind pressure, and tiny voids in materials. During monsoon conditions, repeated wetting magnifies every weakness. A wall that stays dry through a light shower may still leak during wind-driven rain because the pressure forces water into cracks, joints, or porous surfaces. This is why owners are often surprised when a “perfectly fine” wall starts failing only in a particular storm direction.
Common sources of wall leakage include external plaster cracks, failed paint or waterproof coatings, defective sealant around windows, unprotected parapet walls, roof slab cracks, blocked rainwater downpipes, and improper slopes on ledges or chajjas. In multi-storey buildings, water can enter on a higher level and travel down inside cavities or along reinforcement lines before showing up far below. In ground-floor spaces, rising damp from the base of the wall can be mistaken for monsoon leakage, while internal plumbing leaks can create very similar stains.
A few typical causes deserve special attention:
• Hairline facade cracks: small but dangerous when exposed to repeated rain and thermal movement
• Window perimeter gaps: common where frame edges were poorly sealed or sealant has aged and shrunk
• Terrace and parapet failures: often the hidden origin of damp patches on top-floor room walls
• Plumbing chases: concealed pipe leaks can saturate masonry and mimic rain damage
• Poor exterior drainage: overflowing gutters and splashback can soak walls again and again
There is also a useful distinction between water penetration and moisture trapping. Penetration means water is entering the wall from outside or from a pipe. Moisture trapping happens when the wall was previously wet, then sealed under non-breathable coatings or paint without proper drying. This can cause blistering, peeling, and efflorescence, which is the white powdery salt deposit often seen on damp masonry. Efflorescence is not the leak itself; it is the footprint left behind when water carries salts to the surface and evaporates.
One more point matters during monsoon repair planning: not every damp wall needs the same solution. A crack at a window joint needs a different treatment from a saturated terrace slab edge or a wall affected by rising damp. Good repair begins with correct diagnosis, because one wall can show the same symptom for three entirely different reasons.
3. How to Diagnose the Real Source Before Starting Any Repair
The most effective wall leakage repairs begin with observation, not products. Before opening a sealant tube or buying a bucket of waterproof paint, spend time identifying patterns. When does the wall get wet? Does the stain grow only during heavy rain, or even when there is no rainfall? Is the damage concentrated near a window, ceiling line, floor junction, plumbing shaft, or terrace wall? These questions matter because moisture location and timing often reveal more than the visible stain itself.
A practical diagnosis routine starts with mapping the affected zone. Mark the boundary of the damp patch with masking tape or pencil, then note whether it expands after rain. Check the opposite side of the same wall if accessible. Inspect the exterior surface during or just after rainfall, because that is when active entry points are easiest to spot. Look for darkened cracks, dripping from sill corners, overflowing gutters, missing grout, loose coping stones, or failed sealant beads. If the wall is painted, check whether the paint has blistered in isolated spots or along a continuous path. A line often suggests a crack or joint, while a broad fuzzy patch may point to saturation from a larger source.
Useful diagnostic steps include:
• touch test: persistent cold dampness often indicates ongoing moisture
• tap test: hollow sounds can suggest debonded plaster
• moisture meter: helpful for comparing wet and dry zones, though readings vary by material
• odor check: musty smell often appears before staining becomes dramatic
• plumbing isolation: if possible, stop water use in nearby fixtures and monitor whether the patch changes
• rain correlation: keep a simple note of weather, wind direction, and dampness response
Professionals sometimes use infrared cameras, borescopes, and controlled hose tests, but even basic inspection can prevent expensive mistakes. For example, repainting an interior wall when the true source is an open terrace crack is like changing a bandage without cleaning the wound. It looks active, yet nothing meaningful has been fixed.
There are also warning signs that the issue may require expert help rather than DIY effort. These include recurrent leakage after previous repairs, dampness across multiple floors, cracks that widen over time, water entering through structural joints, or visible rust marks that may suggest reinforcement corrosion. If a high-rise facade is involved, access and safety become major concerns as well. In short, diagnosis is not the slow part of repair; it is the part that stops you from repairing the wrong thing.
4. Repair Methods That Work Best During Rainy and Monsoon Seasons
Repairing wall leakage during active rainy weather requires two layers of thinking: immediate control and durable correction. The immediate goal is to reduce water entry and protect interiors. The durable goal is to restore the wall system so the same path does not reopen with the next storm. Confusing these two goals is one of the most common reasons monsoon repairs fail. An emergency patch may be necessary today, but it should not be mistaken for a permanent solution unless the substrate has been properly prepared.
For active leaks, temporary containment can include protective covers, diversion of runoff, and local sealing where the entry point is obvious and accessible. However, wet, dirty, or algae-covered surfaces rarely allow coatings or sealants to bond well. That is why many quick fixes peel off soon after the weather clears. Whenever possible, the repair sequence should follow a simple logic: stop the main water path, remove loose or damaged material, let the area dry to a workable condition, repair cracks and joints, rebuild plaster where needed, then apply the final waterproof or protective coating.
Different repair methods suit different defects:
• Crack injection with polyurethane or similar resin: useful for active or recurring water seepage through certain cracks, especially where water is moving through the wall section
• Polymer-modified mortar repair: suitable for opening, cleaning, and filling non-structural cracks or damaged plaster zones
• Elastomeric exterior coating: good for facades exposed to driving rain because it bridges fine surface movement better than standard paint
• Cementitious waterproof coating: often effective on masonry and concrete surfaces that need a mineral-compatible, breathable layer
• Joint resealing with high-quality exterior sealant: essential around window frames, pipe penetrations, and service entries
• Replastering with waterproofing additive: useful when existing plaster has debonded, become weak, or contains extensive salt damage
Material selection matters. Acrylic or elastomeric coatings are flexible and weather-resistant, making them a good choice for exterior vertical walls. Cementitious coatings bond well to masonry and concrete and can perform well where breathability matters. Polyurethane systems can handle crack movement and are often used in specialist repairs, but they usually require skilled application and clean surface conditions. Silicone or hybrid sealants are valuable for movement joints and frame perimeters, but they are not substitutes for repairing failed plaster or structural cracking.
A common mistake is coating only the interior face of the wall. Interior treatment may improve appearance for a while, yet if rainwater is still entering from outside, the wall remains under stress. In many cases, the correct repair must be done from the exposed side. Think of it like fixing an umbrella: drying the inside is comforting, but sealing the hole on the outside is what keeps you dry next time.
5. Prevention, Cost Planning, and Final Takeaway for Homeowners and Building Managers
The most economical wall leakage repair is the one you never need to repeat. Prevention does not require fancy systems in every case; it usually requires regular inspection, timely maintenance, and attention to weak details before the rain arrives. A pre-monsoon checklist can save far more money than a post-monsoon restoration project. Check terrace drains, clear gutters, inspect parapet tops, reseal window edges if the sealant is brittle, repair visible facade cracks, and ensure drip edges and ledges are not allowing water to run back toward the wall. Also look at landscaping and ground levels around the building, because standing water near external walls can intensify dampness problems.
Budget planning should be realistic. Minor leakage around a window perimeter may be solved with targeted resealing and local plaster repair, while widespread seepage across multiple walls can indicate a larger envelope failure that needs scaffold access, facade treatment, or terrace waterproofing renewal. Low-cost solutions are not always cheap if they must be redone every season. It is often better to spend on proper diagnosis and a defined repair scope than to layer product after product onto an unresolved moisture path.
A sensible maintenance routine might include:
• pre-monsoon inspection every year
• immediate repair of new cracks before they widen
• periodic repainting with appropriate exterior-grade systems
• checking downpipes and roof outlets after major storms
• monitoring previously repaired areas during the first heavy rain
• improving indoor ventilation so unavoidable moisture dries faster
For households already dealing with leakage, the best next step is to resist the urge to treat symptoms alone. Do not focus only on peeling paint, because paint is usually the victim, not the cause. Follow the trail of water, repair the entry point, rebuild the damaged surface properly, and then restore the finish. If the leak involves structural cracking, concealed plumbing, basement pressure, or high-rise access, bring in a qualified professional rather than gambling on repeated patchwork.
Final takeaway: effective wall leakage repair during rainy and monsoon seasons is not about finding a miracle product. It is about matching the repair method to the real source, choosing materials that suit the wall condition, and maintaining the building envelope before storms expose every weakness. For homeowners, tenants, and facility teams, that approach delivers the result that matters most: walls that stay dry, surfaces that last longer, and fewer unwelcome surprises when the clouds gather again.